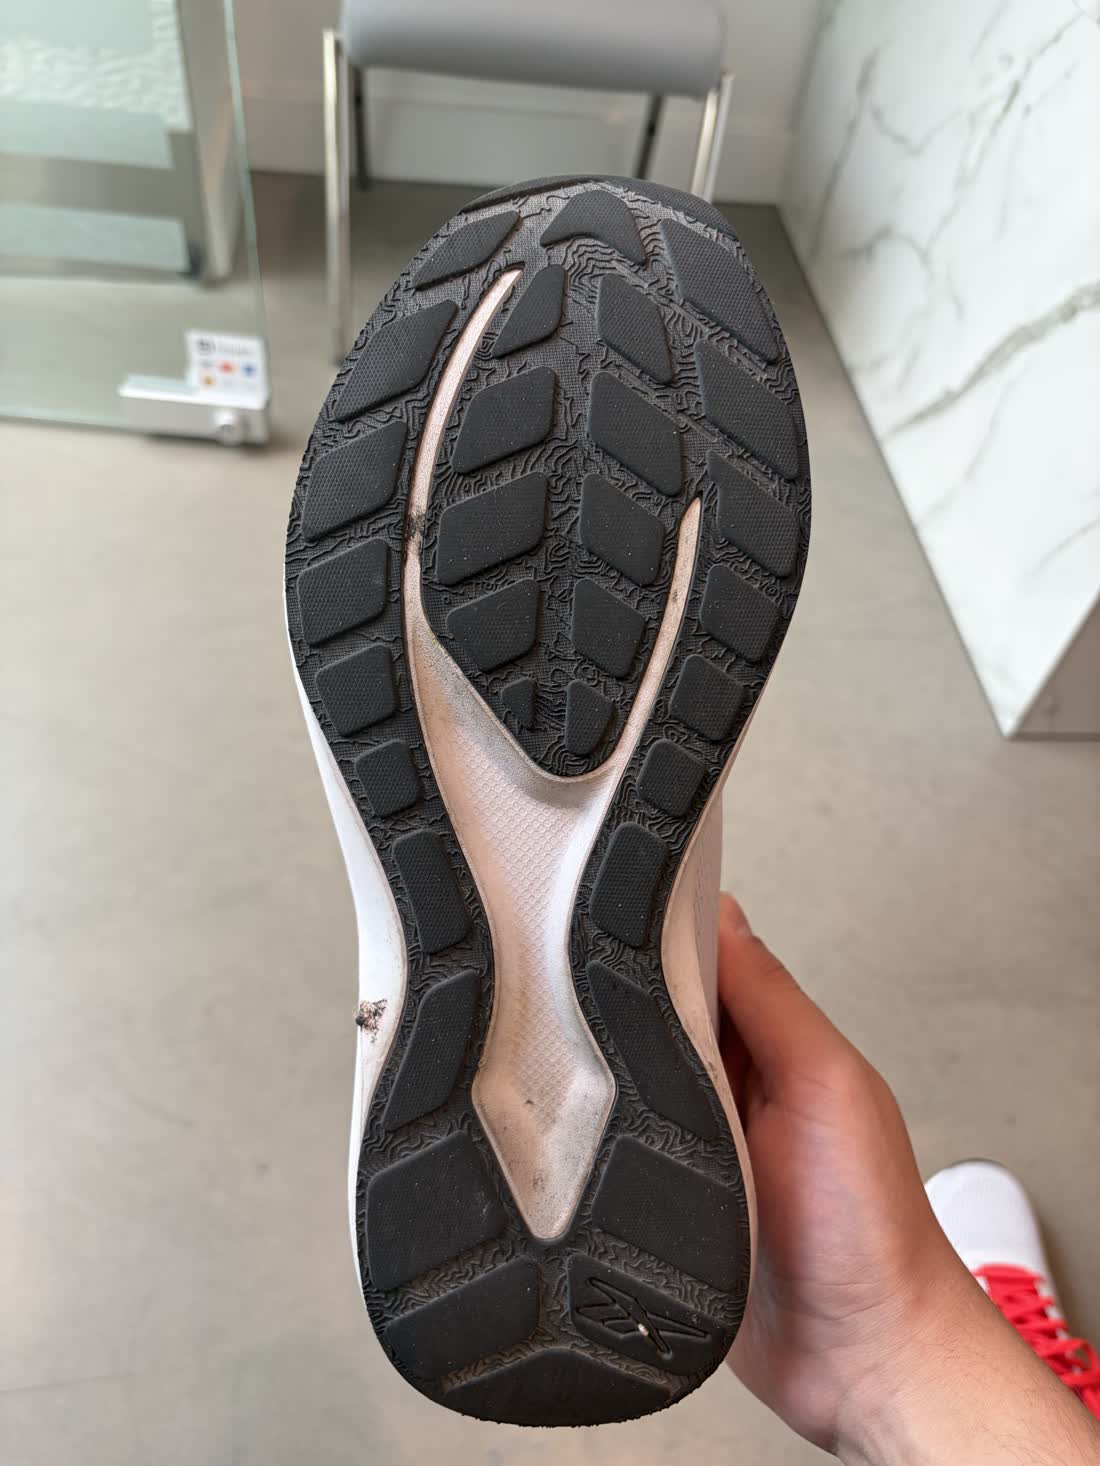
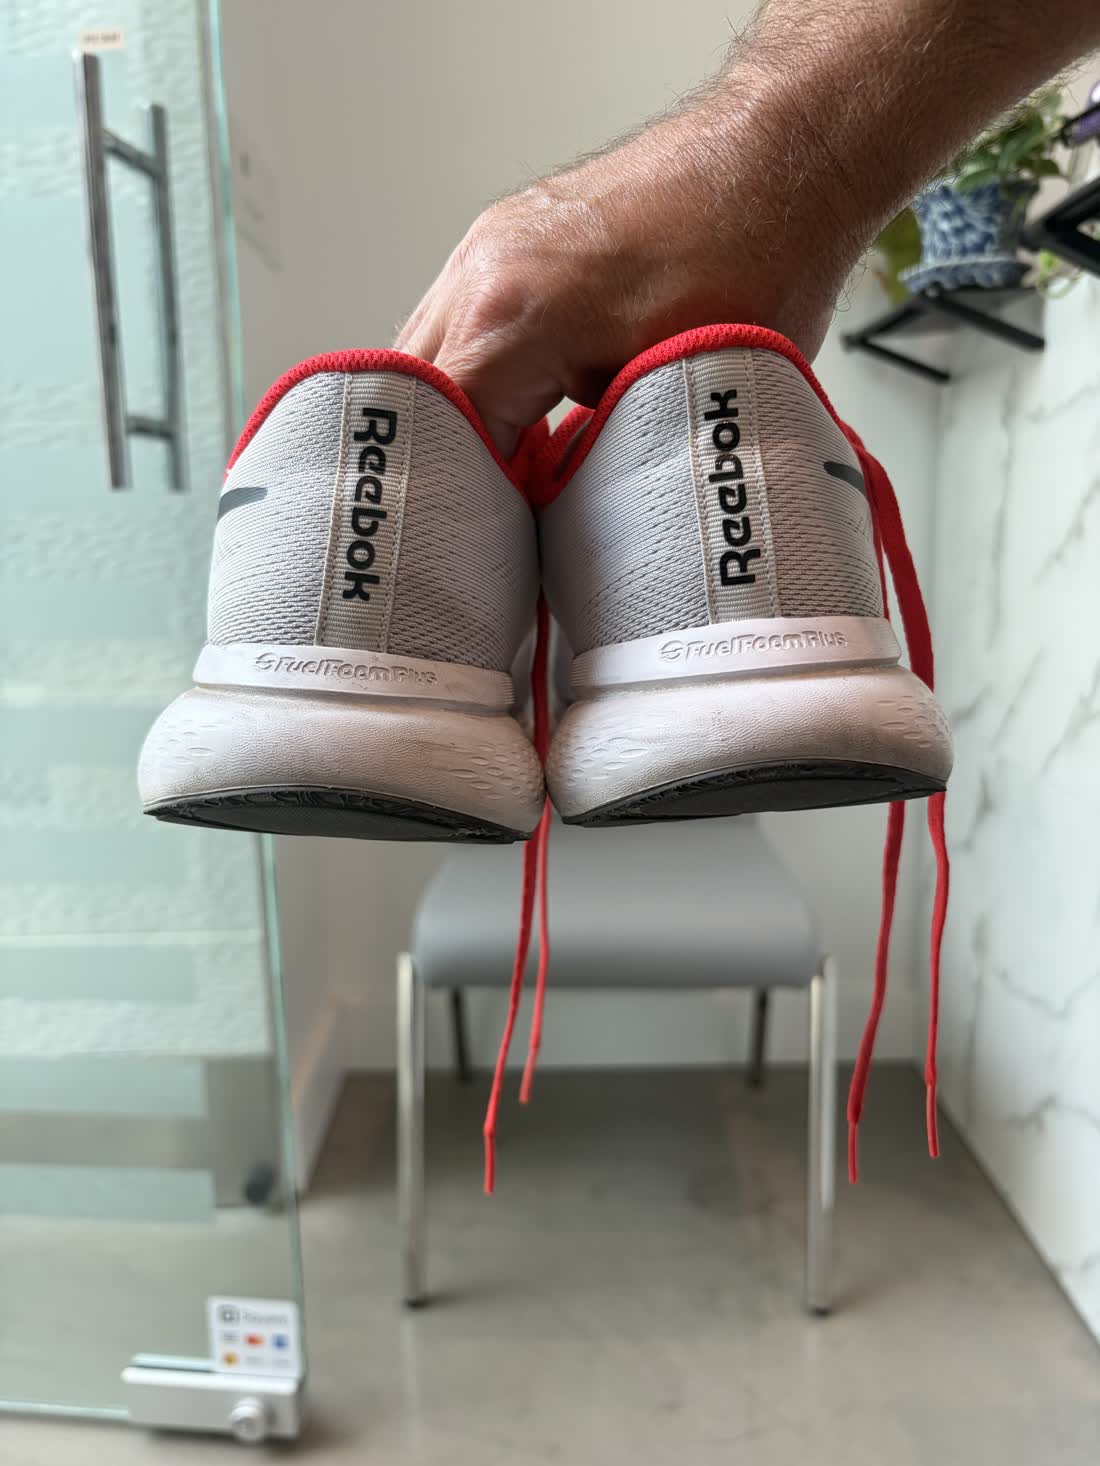
A sample of the result
One real report, not a mock-up
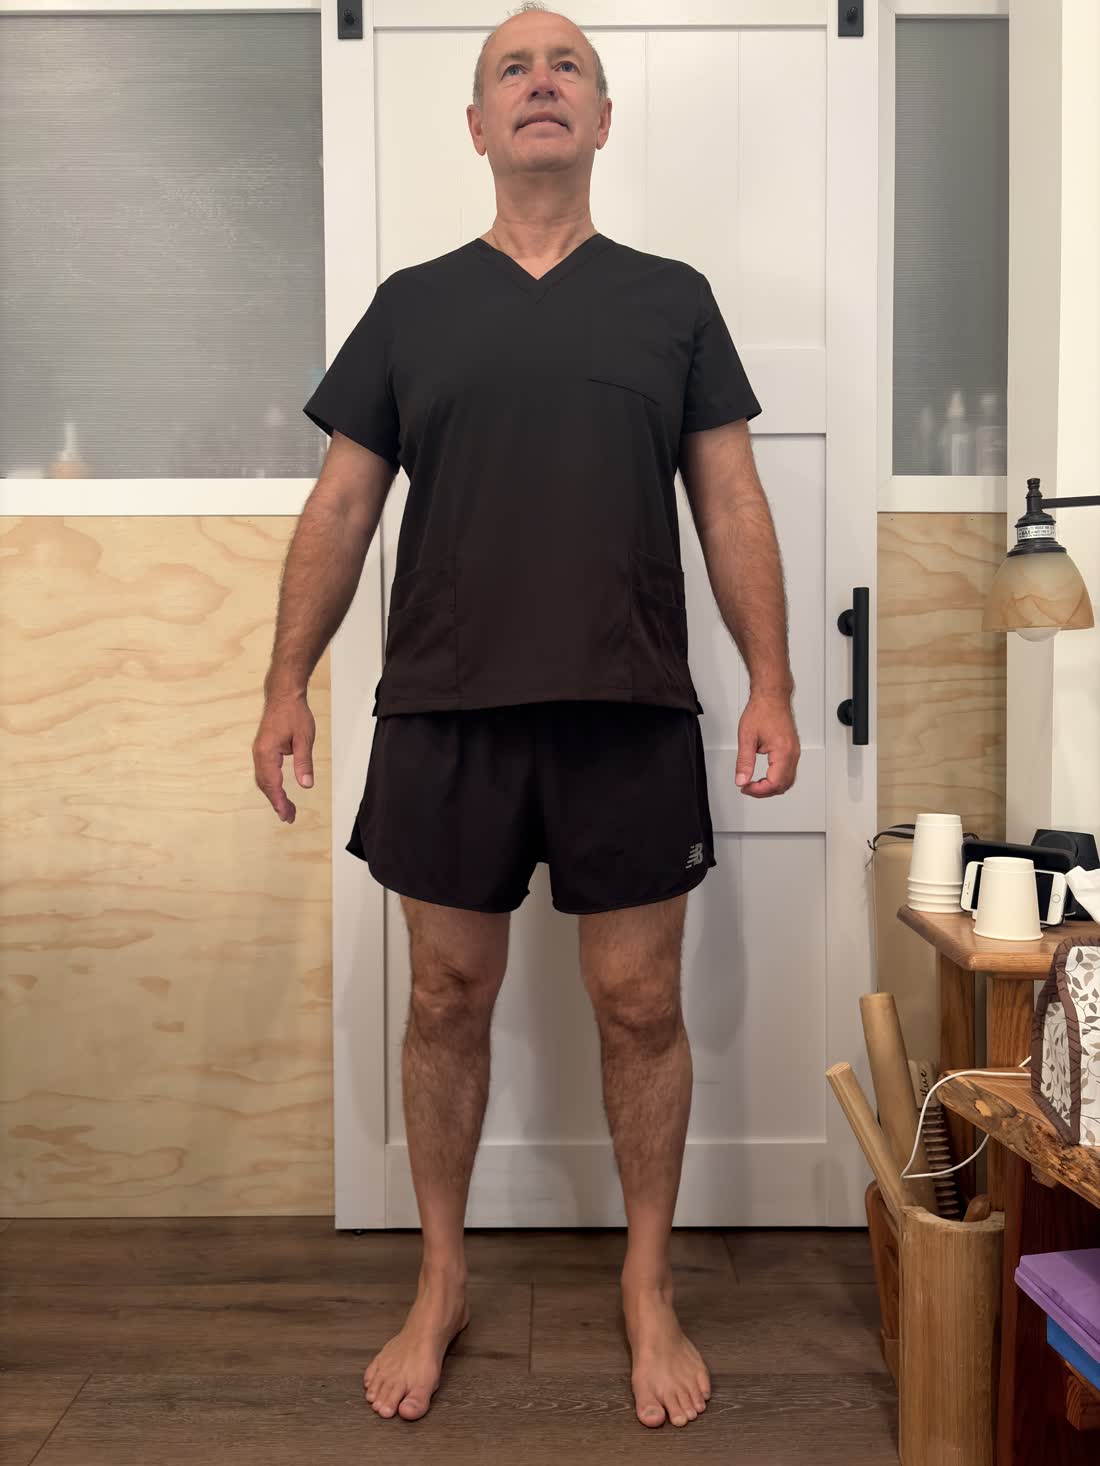
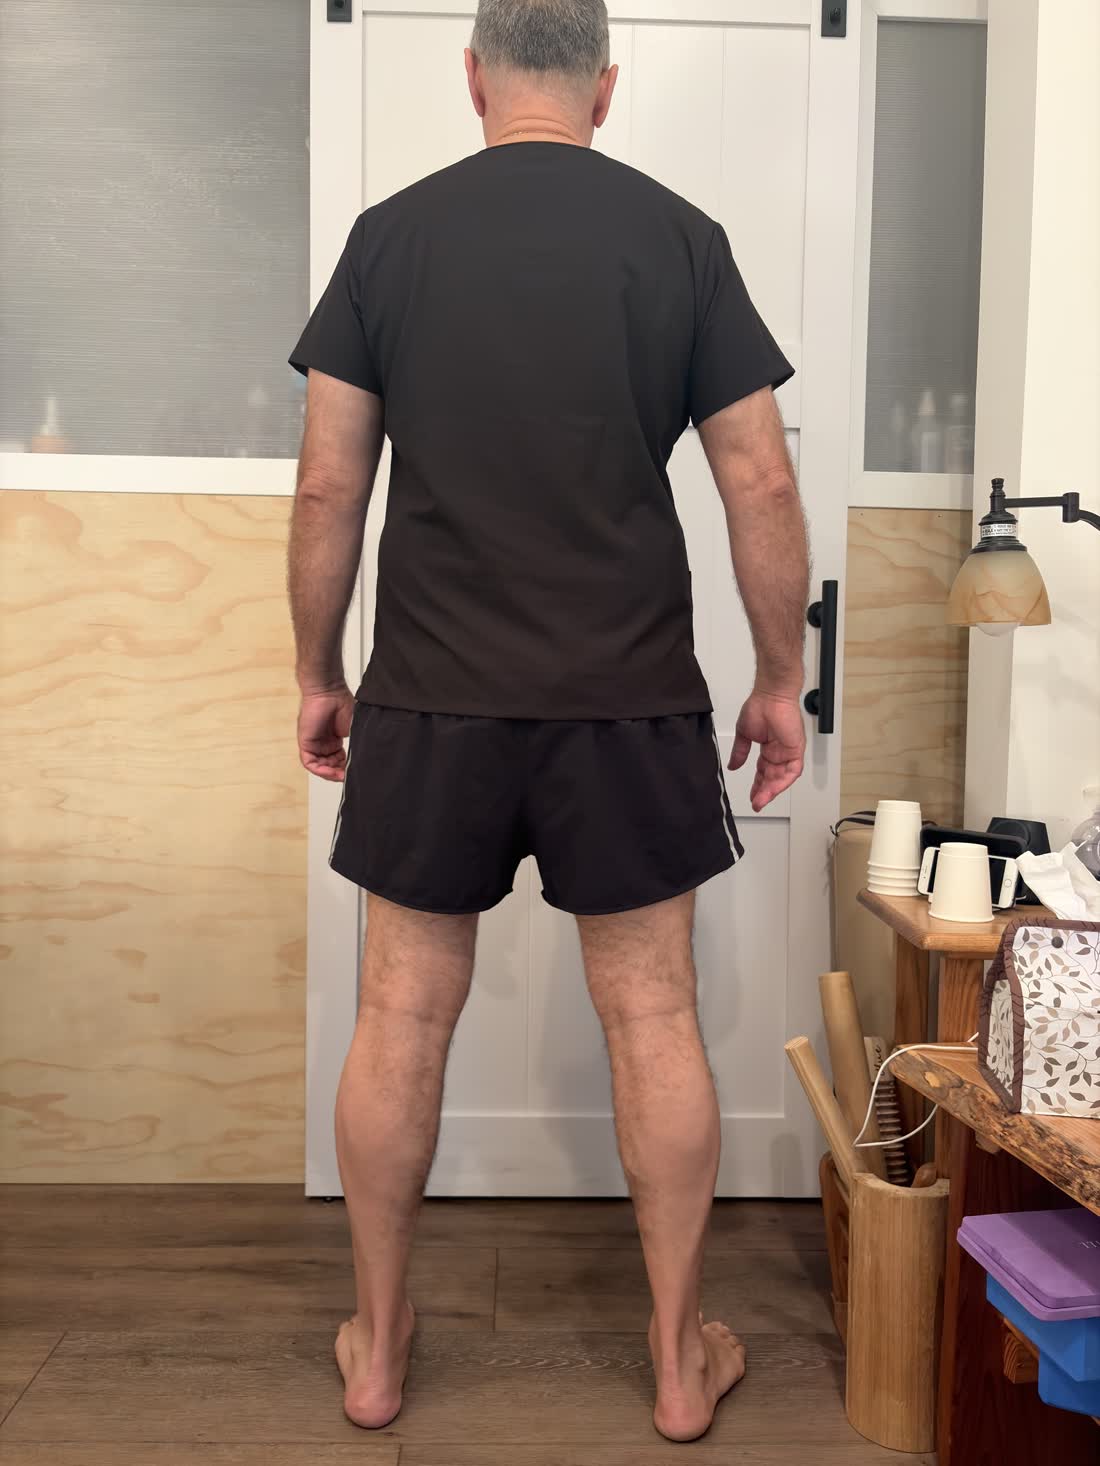
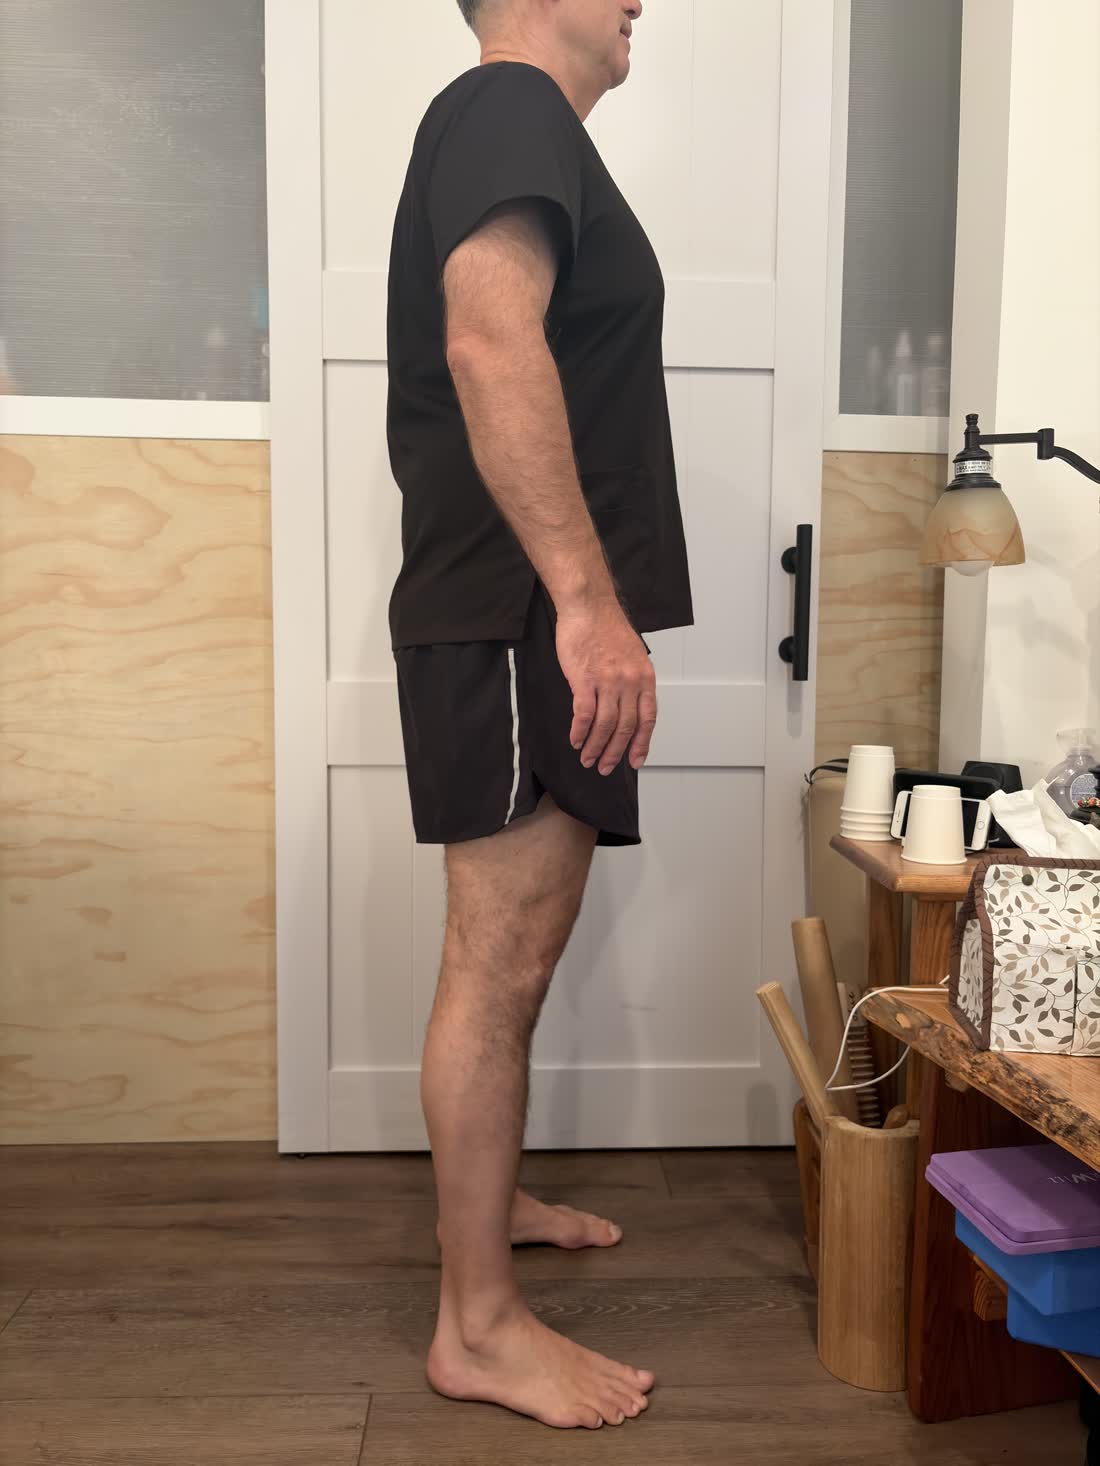
A real scan, shown with the consent of the person filmed.
-
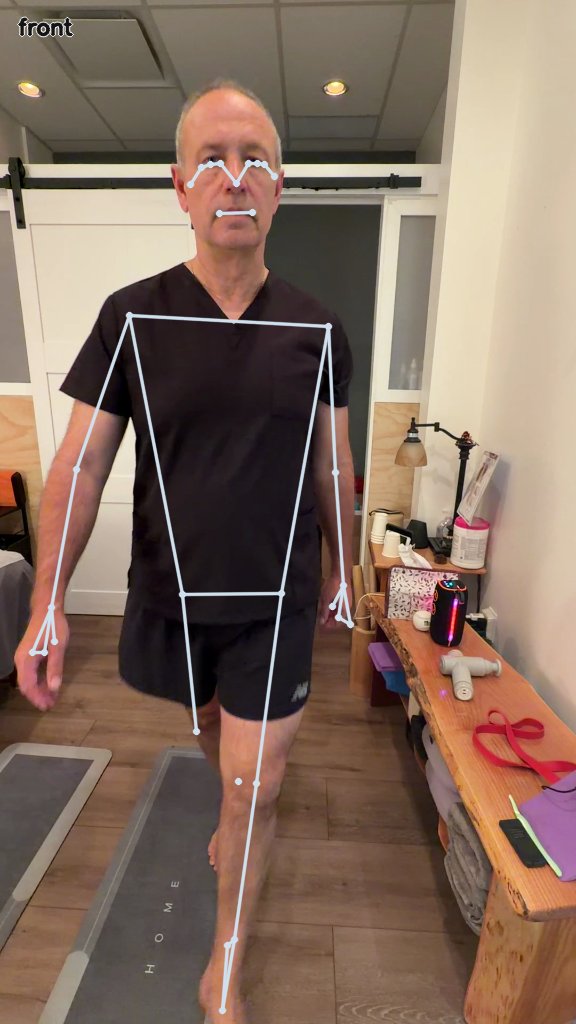
Filmed by the person shown, published with his consent 78/100
Overall walking score
The score blends four regional scores — 82, 78, 82 and 72 — weighted toward the gait-cycle and foot findings, since those most directly affect walking comfort. It is an educational estimate from limited photo and video evidence, not a health or diagnostic rating.
Repeated on the same footage this score varied by about 4 points. Treat a smaller difference as noise rather than change.
-
What we saw
Your shoulders look level and symmetrical in the front-facing photo.
Both feet show a visible natural arch and toes that spread out normally.
Your upper body leans sideways over the leg holding your weight during part of the walk, seen across more than one moment.
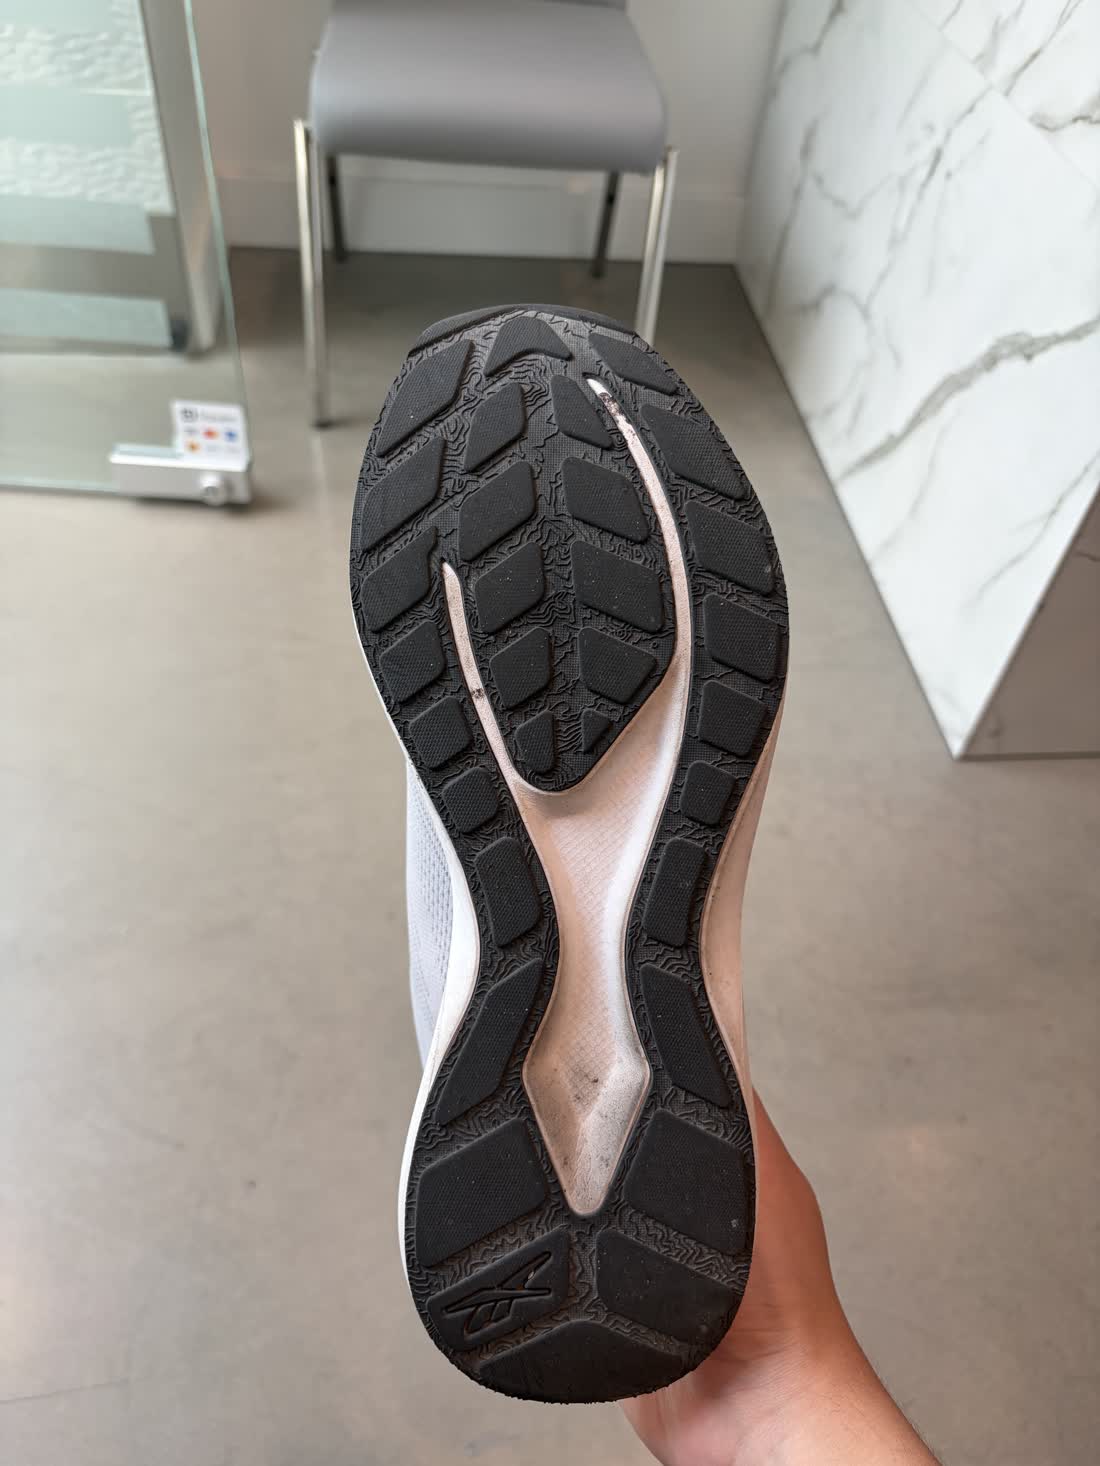
There is a little more surface toughening on the right heel and ball of the foot than on the left.
-
What this could not determine
Which side bears more weight — nothing in the evidence addresses weight distribution.
Whether the arches, rearfoot or ankle alignment behave differently under actual walking load.
Heel rise and push-off from the side, where an arm and shoulder occluded the lower body.
-
Region by region
Posture & upper body · 82 — shoulders level, with a slight forward lean of the trunk.
Pelvis & knees · 78 — hips level, knees angling slightly inward over the ankles.
Feet & ankles · 82 — a natural arch on both sides, more wear on the right.
Gait cycle · 72 — the trunk shifts sideways over the leg carrying the weight.
-
What this adds up to
The connecting theme is how weight is managed side to side: the forward head and trunk, the inward knee line, the heavier wear on the right and the trunk shifting over the stance leg all point the same way.
This is a common, low-alarm pattern and not a sign of anything wrong — simply a useful place to bring more awareness.
Most of it comes from standing photographs or single video frames, so it is not yet confirmed that these tendencies repeat from step to step.
-
Where attention would go next
Smoother, level weight transfer between legs, leaning less on trunk shift to manage it.
More even loading through the sole, supporting balanced push-off between sides.
A level, neutral head and upper-trunk carriage for a more upright walking posture.
Knee alignment over the ankle in standing and walking, for comfortable joint tracking.
Relaxed, natural arm swing while walking, supporting rhythm and balance.
-
Your exercise programme
Tripod foot
Knee to wall
Supported band side-step
Slow push-off walk
Seated ankle rock
Each one comes with how to do it, what to avoid, and when not to.
Nothing on this page is a diagnosis or a treatment plan.
Before you film
Film in a private space, barefoot, with nobody else in frame. Put the camera at hip height, three to five metres away.

- Camera at hip height. Stand the phone on a stack of books. On the floor it films your shins and cuts your head off.
- Three to five metres of clear path. Far enough back that your whole body fits on the screen with room to spare.
- A plain wall behind you. Barefoot, in a private space, with nobody else in the room.
- One take, three passes. Walk towards the camera, then away from it, then straight across it. Do not stop the recording between passes.
What makes footage unusable
 Walking out of the frame
 Filming in a dim room
 A finger over the lens
 A second person in shot
Set up
Film in a private space, barefoot, with nobody else in frame. Put the camera at hip height, three to five metres away.
Starting creates an anonymous scan. You are not asked for a name, an email address, or an account.
Access key
Saved in this browser so you can return on this device. Keep a copy if you may want to reopen or delete your data from another device — it cannot be recovered.
Safety questions
These decide whether this tool is appropriate for you at all. They are answered in code, not by a model.
Upload media
Seven photos and one walking video are required. The extra videos are optional and improve the read.











Processing takes a minute or two. Leave this page open.
Analysis
Quality checks run first, then measurement, then the written read.
See what we captured
These skeleton-overlay previews show the frames used by the analysis. They are deleted within 24 hours.
Orange and cyan distinguish the attested left and right sides.
Your report
Read it here, print it, or create a link that expires in 30 days.
What happens to your files
You give us no name, no email, no account. Instead of a login there's an access key, shown exactly once. Save it — without it you can't reopen your report or delete your data, and it can't be recovered. Photos and video are processed, including by an AI provider under its API data policy, and are deleted as soon as the report is assembled. If a run never reaches a report, a background sweep removes the files: it runs hourly and deletes everything older than 24 hours from upload. Skeleton-overlay frames live for up to 24 hours after the report is ready. The report text is kept for 90 days, then deleted automatically. A share link stops working after 30 days. You can delete everything early at any time, with that same key.